

Messy contact lists and missing details can quietly drain your sales team’s time and sink conversion rates. Reliable, ready-to-use data is the solid ground every successful cold outreach campaign needs, especially when targeting prospects in the Netherlands or expanding into Belgium and Germany. This guide walks you through data validation criteria, practical collection strategies, and efficient verification steps so your next campaign runs on trustworthy information from day one.
Table of Contents
- Step 1: Define Data Validation Criteria
- Step 2: Collect and Organize Your B2B Data
- Step 3: Verify Company and Contact Details
- Step 4: Cross-Check Data for Accuracy
- Step 5: Document Validation and Deliver Results
Quick Summary
| Main Insight | Clear Explanation |
|---|---|
| 1. Define Clear Validation Criteria | Establish specific criteria for what makes contact records valid to avoid wasting time on unusable data. |
| 2. Organize Data Effectively | Collect and structure data from various sources to ensure clarity and prevent confusion during outreach. |
| 3. Verify All Contact Details | Systematically check the accuracy of company and contact information to avoid wasted outreach efforts. |
| 4. Cross-Check for Consistency | Compare data against multiple sources to catch errors and ensure the reliability of your dataset. |
| 5. Document Validation Process | Create a report that details your validation steps and provides transparency for the sales team to trust the data. |
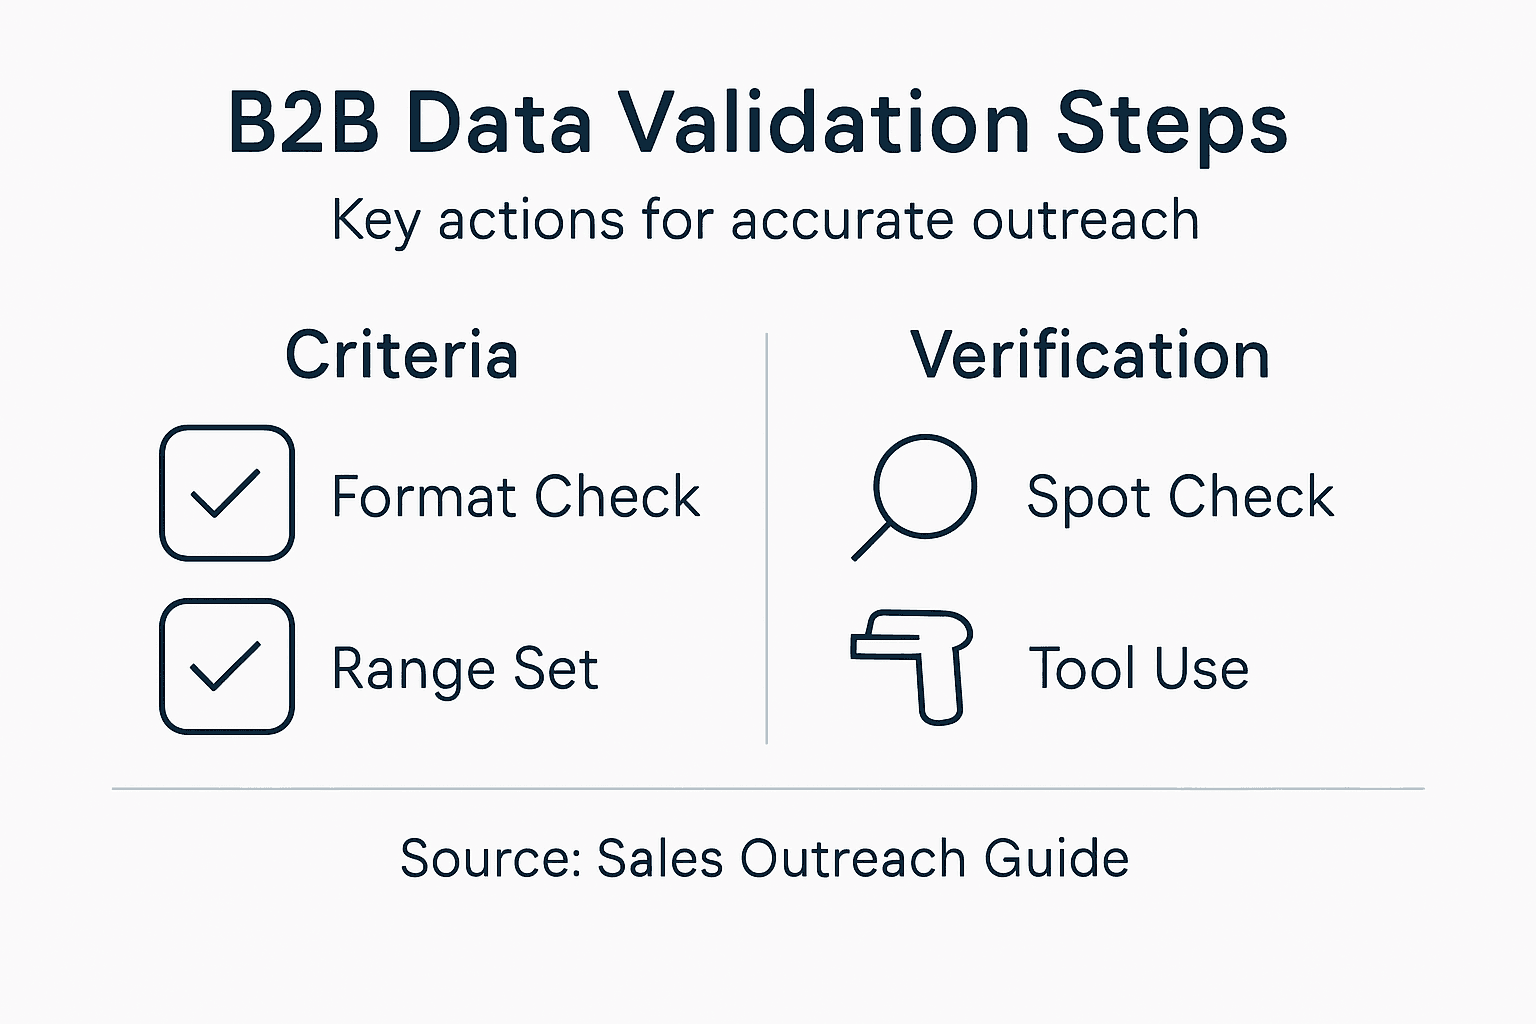
Step 1: Define data validation criteria
Defining your data validation criteria is where you establish the rules that determine whether a contact record is actually useful for your sales outreach. Without clear criteria, you end up with messy data that wastes your team’s time and tanks your conversion rates. This step transforms raw contact information into a reliable foundation for cold outreach campaigns.
Start by identifying what “valid” means for your specific business goals. Data validation checks include code checks, consistency checks, data type and format checks, range checks, and uniqueness checks. For B2B sales outreach, this means deciding which fields are non-negotiable. Does every contact need a working email address? A direct phone number? A company website? Does the prospect need to work in a specific department or industry? Define these requirements upfront rather than discovering midstream that half your list lacks decision maker titles.
Think about format requirements too. Email addresses should follow standard formatting (name@company.com). Phone numbers need to match your target country’s format. If you’re targeting Dutch companies, a valid phone number must include the +31 country code. Company names should match official registrations. Website URLs should be live and accessible. Break this down by priority level. Essential fields are non-negotiable. Secondary fields are highly valuable but not deal-breakers. Optional fields add context but won’t disqualify a record. This tiering approach prevents you from rejecting otherwise solid leads because one field is missing.
Also establish range parameters. If you’re targeting companies by employee count, specify whether you want 10 to 50, 50 to 200, or 200 plus employees. If revenue matters, set clear thresholds. Geographic boundaries matter too. Are you selling only within Netherlands? Or expanding to Belgium and Germany? Define these boundaries in your criteria so validation can happen consistently across your entire dataset.
Here is a breakdown of essential, secondary, and optional fields for B2B data validation:
| Field Priority | Examples | Impact on Outreach Success |
|---|---|---|
| Essential Fields | Valid email, phone, company name | Foundation for contact; non-negotiable |
| Secondary Fields | Website, department, industry | Improves targeting and relevance |
| Optional Fields | Social profiles, notes, intent signals | Adds context; rarely a deal-breaker |
Pro tip: Document your validation criteria in a simple spreadsheet or checklist before you touch any data, then share it with your team so everyone uses the same standards when evaluating leads.
Step 2: Collect and organize your B2B data
Now that you know what valid data looks like, it’s time to actually collect and organize your prospect information. This step pulls together data from multiple sources and structures it so your sales team can actually use it without confusion or duplication.
Start by deciding where your data comes from. You have two main paths: internal sources (your existing customer database, LinkedIn connections, website visitors) and external sources (B2B databases, industry directories, purchase intent signals). A hybrid approach works best for most teams. B2B marketing data types include firmographic data (company size, industry, location), technographic data (software they use, tech stack), intent data (buying signals, content engagement), and demographic data (job titles, seniority levels). Your internal data might give you rich behavioral history, while external data fills gaps and expands your addressable market. The combination gives you a complete picture that internal sources alone cannot provide.
Once you have data flowing from these sources, organize it by type and source. Create separate sections or columns for each data category. Firmographic data in one area, contact information in another, intent signals somewhere else. This structure prevents confusion and makes it easier to spot gaps. If you’re building a prospect list for Dutch mid-market companies, your organized data should clearly show company size, revenue range, industry, contact names, email addresses, phone numbers, and any engagement history. Use consistent naming conventions across all fields. “Phone” not “tel” or “telephone.” “Company Name” not “Org” or “Business.” This consistency matters when your team is moving quickly through outreach.
Consider whether you need one master spreadsheet or multiple connected sheets. For smaller teams targeting a specific vertical, one well organized sheet works fine. For larger operations expanding into multiple markets or verticals, separate sheets by geography or industry prevents file bloat and keeps things manageable. Also decide how you’ll track data freshness. Note when each record was last updated. Old data decays fast in B2B sales, so you need to know if you’re looking at this week’s information or last quarter’s.
Pro tip: Set up a simple system to flag duplicate records automatically or manually review your organized data for duplicates before handing it to your sales team, as duplicate contact records waste time and destroy campaign metrics.
Step 3: Verify company and contact details
Your organized data is only as good as the accuracy of individual records. This step involves systematically checking that company information and contact details are current and correct before you send a single email or make a cold call. Bad data here means wasted outreach and damaged reputation with prospects.
Start by verifying the company information manually for your highest-priority targets. Check that the company name matches official registration records. Visit their website to confirm it’s active and that their phone number connects to a real business. Look for recent news or funding announcements that might indicate leadership changes or department restructuring. If you’re targeting a prospect at a 50-person tech startup in Amsterdam, verify they actually exist and haven’t recently shut down or been acquired. For contact details, real-time verification of B2B contact data checks emails, phone numbers, job titles, and company information instantly as data enters your system. This automated approach reduces bounce rates significantly. An email bounce wastes your outreach time and can damage your sender reputation with email providers, which affects all future campaigns.

Beyond automation, do spot checks on a random sample of records. Take 20 records from your list and manually verify each one. Call the main company line and ask for the contact by name. Send a test email to their company domain email address. If you’re getting rejected or invalid contact information at this stage, you need to understand why. Is the data too old? Did the person move to a new role or company? Are you using an outdated industry directory? These findings tell you whether you need to refresh your entire dataset or just improve your verification process for future campaigns.
For larger datasets, consider integrating automated verification tools directly into your CRM system. This keeps contact information updated continuously rather than relying on periodic manual reviews. When a prospect responds to your outreach or appears in your system, their details get checked and refreshed automatically. This ongoing validation is especially valuable for B2B sales where job changes happen frequently and people switch companies.
Pro tip: Run your dataset through a verification tool that flags questionable records before you export for outreach, then manually verify any flagged entries to catch potential bounces before they impact your sender reputation.
This table compares common data verification approaches for B2B datasets:
| Approach | Best For | Benefits |
|---|---|---|
| Manual Spot Checks | High-priority leads | Ensures critical accuracy |
| Automated Tools | Large, dynamic datasets | Real-time updating, fewer bounces |
| Cross-Source Checks | Validating consistency | Detects outdated or false info |
Step 4: Cross-check data for accuracy
You have organized data, verified individual records, and now comes the critical step of comparing information across multiple sources to catch inconsistencies. This cross-checking process is where you discover hidden errors that single-source verification misses. It’s the difference between thinking your data is good and knowing it actually is.
Start by comparing your dataset against at least one external source. If you pulled company information from an industry directory, cross-check those same companies against business registration records or their official websites. If you have contact names and titles, verify them against LinkedIn or company websites. Data verification through cross-checking collected data ensures accuracy, consistency, and reliability by validating against original sources and detecting missing or inconsistent information. Look for mismatches. Does the person’s title match across sources? Is the company size consistent? Has the company address changed? When you find discrepancies, dig deeper. Sometimes the data is just outdated. Sometimes it’s wrong. Your job is to figure out which and fix it.
Beyond manual spot checking, run your dataset through duplicate removal and syntax validation to catch common errors. Look for exact duplicates where the same contact appears twice with identical information. Look for near duplicates where the same person is listed under slightly different names or email variations. Remove typos in company names, email addresses, and phone numbers. A prospect at “acme.com” should not appear separately as “acme.co” or “acme.nl.” Consolidate these variations into single, correct records. This cleanup phase often reduces your dataset by 10 to 20 percent, but what remains is significantly more valuable.
Consider creating a master validation checklist that documents every verification step you took. Which sources did you check against? When did you verify? What errors did you find and fix? This documentation protects you later when someone questions data quality and gives your team confidence that the list is solid. It also helps when you’re refreshing data next quarter because you’ll know exactly where to focus your verification efforts.
Pro tip: Use a three-source rule for your highest-priority prospects: verify each contact against at least three independent sources before marking them as ready for outreach.
Step 5: Document validation and deliver results
You’ve done the hard work of cleaning, verifying, and cross-checking your data. Now you need to document what you did and hand off the results to your sales team in a way they can actually use. This step creates accountability, enables future improvements, and gives your team confidence in the data they are working with.
Start by creating a validation report that captures everything you did. Document which validation criteria you applied, how many records you checked, what error rates you found, and what you fixed. If you removed 200 duplicates from 5,000 records, say so. If you flagged 150 records as questionable and excluded them from the final list, document that decision. Include the dates you performed each verification step. This audit trail shows that your process was systematic and thorough. B2B data validation systematic checks confirm records are real, current, and usable by verifying email formats, phone numbers, and company details, which improves sales productivity and campaign success. When your sales team knows you validated emails and phone numbers specifically, they trust the data more and use it more confidently.
Beyond the report, organize your final dataset in a format that works for your team. If they use a CRM system, format the data to import cleanly without field mapping errors. If they work from spreadsheets, organize columns logically with clear headers. Include relevant fields like contact name, title, company, email, phone, and any intent data you collected. Remove any intermediate verification notes or flagged fields that would just clutter their workspace. Documenting validation steps and delivering clean data maintains transparency and supports traceability while minimizing errors and compliance risks for your outreach campaigns.
Create a simple data dictionary that explains what each field means and how fresh it is. When was the data last verified? Which sources did you use? Are there any known gaps or limitations? For example, if you have email addresses but some phone numbers are missing, say that explicitly. This transparency prevents your team from making false assumptions about data completeness. Also schedule regular data refreshes. B2B data decays quickly. People change jobs, companies relocate, and contact information becomes outdated. Plan to re-validate your core prospect list quarterly and your broader target market annually.
Pro tip: Include a validation metadata column in your final dataset that shows the verification date for each record, allowing your team to prioritize fresh data first and identify which records need updating soon.
Unlock Accurate Sales Outreach with Verified B2B Data
Validating B2B data is critical to avoid wasted effort and a damaged reputation caused by outdated or incorrect contact information. This article highlights the essential steps to ensure your leads are real, relevant, and ready for outreach—from defining clear validation criteria to cross-checking multiple sources. If managing these complex processes feels overwhelming or time-consuming you are not alone.
Partnering with DataFacilitator.com means you get access to highly targeted, compliant, and verified B2B contact lists tailored specifically for your outreach needs in the Netherlands and beyond. Our promise is to deliver scalable, clean data so your sales team can focus on what matters most closing deals instead of chasing bad leads. Explore our comprehensive solutions at We handle the leads, you close the deals. – DataFacilitator and start benefiting from data that drives results today.
Don’t let poor data slow your sales growth. Visit DataFacilitator.com now to secure verified leads that meet your exact criteria. Experience transparency, quality, and pay-per-result terms designed to maximize your cold outreach success. Get started fast by checking our curated selections here We handle the leads, you close the deals. – DataFacilitator and turn every contact into an opportunity.
Frequently Asked Questions
What are the key criteria for validating B2B data?
Validating B2B data involves establishing clear criteria such as valid email addresses, phone numbers, and company names. Start by defining essential fields that every record must have; for example, ensure each contact has a working email and a valid phone number.
How can I collect and organize B2B data effectively?
To collect and organize B2B data, use both internal and external sources to gather a comprehensive dataset. Structure your data by separating firmographic, demographic, and contact information into distinct sections, making it easier to spot gaps and ensure clarity.
What steps should I take to verify company and contact details?
Begin by manually verifying the highest-priority company and contact information you have. Check that the company name matches official records, and confirm active websites and accurate phone numbers to ensure your outreach is based on reliable data.
How do I cross-check data for accuracy?
Cross-checking data involves comparing your dataset against at least one external source to catch inconsistencies. Look for matching information on company details and contact names, and resolve any discrepancies to ensure reliability in your outreach efforts.
Why is it important to document the validation process?
Documenting the validation process is essential for creating accountability and enabling future improvements to your data quality. Create a report that captures the validation criteria and any errors found, which will help your team trust and effectively use the data provided.
How often should I refresh my B2B data?
Plan to refresh your B2B data at least every quarter, as contact information can change quickly in the business landscape. Regular updates will help maintain data accuracy, reducing the risk of wasted outreach efforts and improving your overall sales success.